
If you aren’t wanting to use pre-made templates to create your storyboards by hand, you can use some online storyboard software. On these sites, you can use photos you have taken yourself for your storyboards, or you can scan in your own drawings, before letting the software put your storyboard in a clean layout for you.
One piece of software you can use is StudioBinder. You can use it for free as long as you only ever have one storyboard saved in the site at a time.
To use the software, follow the steps below.
1) Login to StudioBinder.
2) Click on ‘New Project’ and give your project a name.
3) Click on the ‘Shot Lists & Storyboards’ option at the bottom right.

You can explore the other options if you’d like to at another stage.
4) Click on ‘New Shot List’ and give your shot list a name.
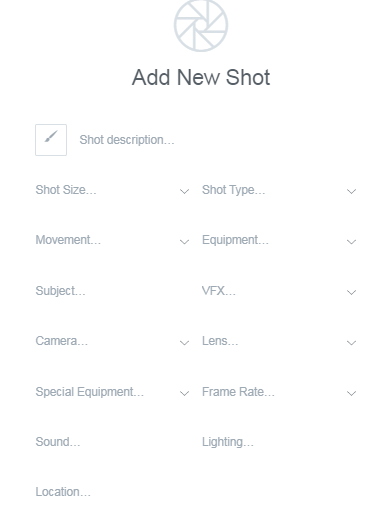
5) Click on ‘Add New Shot’

6) You will find a number of options in your drop-down menu for your first shot. For these, ensure that you at least fill in:
- Shot description (this works as a shot title as well)
- Shot Size
- Shot Type
- Movement (even if you say that the camera is ‘static’)
- Write something next to ‘Subject’
- If relevant, write something next to ‘Sound’. This might be some dialogue or the start of some music.
7) Once you have saved and closed this shot, you will find that you can now see it as the first of your storyboarded images:
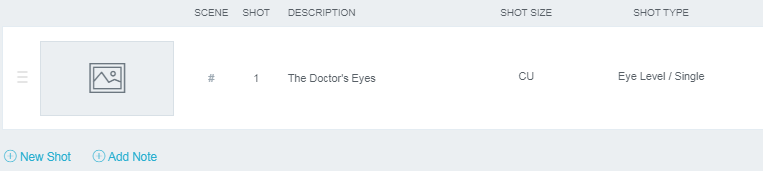
Click on the outline of the painting to import an image from your computer as the visual for the shot. This can either be a photo you have taken or a sketch that you have scanned in.
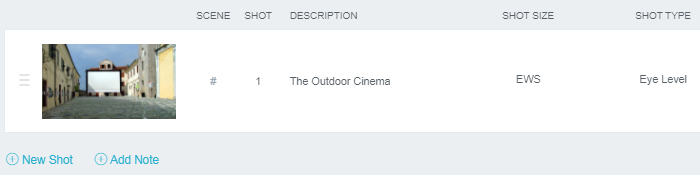
8) You can now click on ‘New Shot’ to create the next shot in your storyboard, or you can click on ‘Add Note’ if you want a particular note to be written at this stage of your storyboard – perhaps noting that a new scene begins at this stage.
9) To edit a shot, you can click on any feature of it, such as the shot size or shot type, to edit that aspect of the shot.
10) On the left of screen, you should see these buttons:

You can try out each of these icons. The first will allow you to change the visual layout of your storyboard. Clicking the play button will enable you to cycle through your shots as if they are a playlist. Hitting the settings button will allow you to change the columns that are shown on the screen with each shot – you might want the ‘sound’ column shown, for instance.
11) When you are ready to print your storyboard, click on ‘View Report’ in the top right of screen. You can then edit the layout of the storyboard you are going to print and edit the information that will be printed on the storyboard. Once you are happy with it, you can click the printer icon in the top right of screen to print. When you’re done, click on ‘Edit Shot List’ to return to the storyboard editor.
Other Storyboarding pages on Opening Class:
